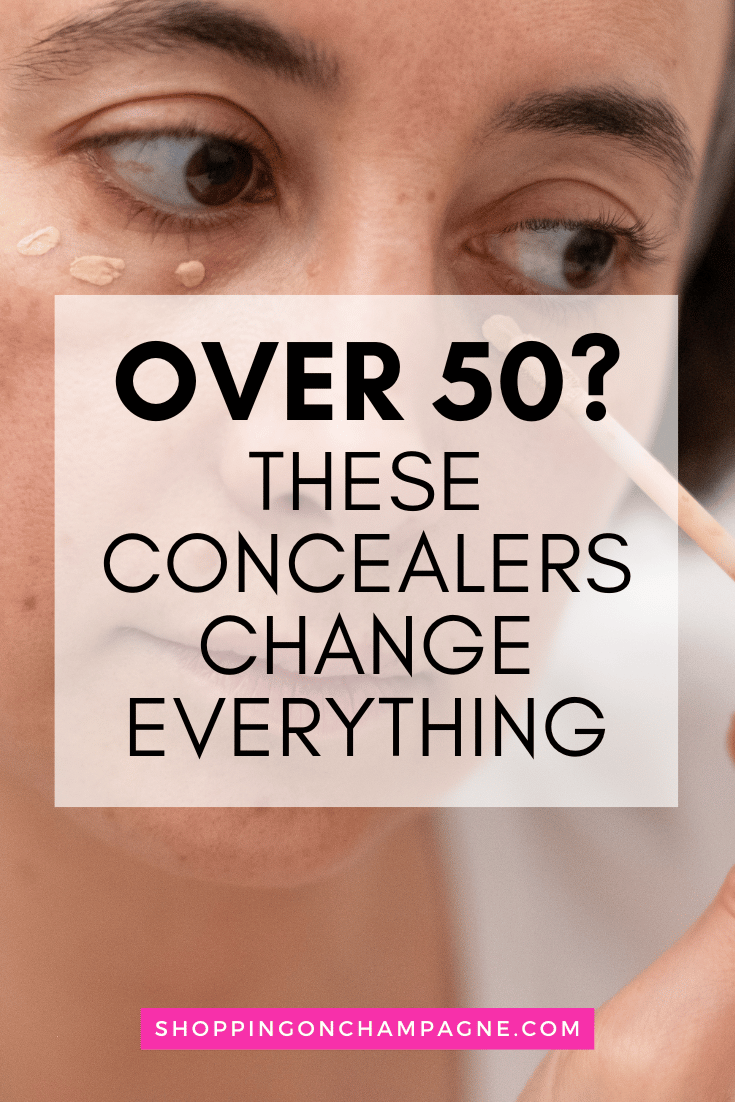
The Best Concealers for Women Over 50 (And How to Use Them)
If you’ve ever put on concealer and thought, “Wow, that looks great!” only to check the mirror an hour later and see creases, dryness, and ten extra years staring back at you, welcome to the club.
Concealer is one of those products that promises miracles and delivers chaos…until you learn the right way to use it. The good news? Once you do, it becomes the easiest way to look rested, lifted, and bright-eyed, even on the mornings when you’re absolutely not.
Let’s fix the creasing, caking, and settling once and for all.
This post may contain affiliate links. Please see my full disclosure for more information.
Step 1: Prep Like You Mean It
If your concealer looks patchy or dry, it’s not your age; it’s your prep. The under-eye area is thinner, drier, and more delicate, so you can’t skip hydration.
Start with a lightweight eye cream. You want moisture, not slip. Let it sink in for a minute, then blot off any extra so your concealer has grip.
Try:
Bobbi Brown Vitamin Enriched Eye Base – doubles as skincare and primer; helps concealer glide instead of cracking
Kiehl’s Creamy Eye Treatment with Avocado – rich, hydrating, and a cult favorite for good reason
Once you nail your prep, every concealer performs better.
Step 2: Foundation First - Most of the Time
This one trips up a lot of people: concealer first or foundation first?
For women over 50, foundation should almost always come first.
Here’s why: foundation evens everything out, so you’ll need way less concealer. Putting concealer on first just adds more product, and more product means more creasing.
The only time I’ll reverse it is if I’m using a sheer base (like a tinted moisturizer) and just need to spot-correct.
Try:
NARS Radiant Creamy Concealer – the gold standard for natural brightness
Lancôme Teint Idole Ultra Wear All Over Concealer – creamy, hydrating, and never chalky
IT Cosmetics Bye Bye Under Eye Brightening Concealer – amazing for stubborn darkness
Step 3: Use Less Than You Think
This might hurt to hear, but most people use three times too much concealer. The old “triangle under the eye” trick? Not doing us any favors anymore.
Instead, use a tiny dot at the inner corner where darkness lives and another just beneath the outer corner where fine lines like to hang out. Blend it with your ring finger or a damp Beautyblender Original Sponge.
You’ll look instantly fresher, not painted.
If you’re covering redness or a spot, switch to a concealer that matches your skin exactly (not the brightening shade).

Step 4: The Shade Secret
Your under-eye concealer should be half a shade lighter than your foundation. That’s it. Go too light and you’ll look tired and chalky.
And if you’re battling blue or purple tones, don’t reach for more concealer, reach for a corrector first. A peach or bisque hue cancels out the darkness, so you can use less product and get a smoother finish.
Try:
Bobbi Brown Under Eye Corrector – legendary for a reason.
Step 5: To Set or Not to Set
Powder is tricky territory. The right one keeps your concealer in place; the wrong one makes it look like parchment paper.
If you crease easily, dust a whisper of luminous powder over the area using a tiny fluffy brush. Skip anything matte or heavy.
Try:
Laura Mercier Translucent Loose Setting Powder – Light Catcher – blurs while giving a soft glow.
Hourglass Veil Translucent Setting Powder – weightless and smoothing.
If you’re dry, skip powder altogether and mist with a setting spray instead.
Try:
Charlotte Tilbury Airbrush Flawless Setting Spray – locks it all in without dulling your glow.
Step 6: Bonus Tricks That Make All the Difference
These are my favorite hacks to make your concealer creaseproof and last all day.
1. Warm it up.
If your concealer looks thick, put a dab on the back of your hand first and warm it with your finger. That softens the texture and helps it melt into your skin.
2. Lift your face, literally.
Instead of dragging concealer down, lift it upward toward your temples as you blend. It’s an instant mini facelift.
3. Keep it creamy.
Matte concealers cling to texture. Stick with formulas labeled “radiant,” “hydrating,” or “luminous.”
4. Light, not bright.
Remember, concealer is meant to reflect light, not create it. You’re going for “well-rested,” not “spotlight.”
Step 7: Work With Your Skin, Not Against IT
The point isn’t to erase every shadow or fine line; it’s to look like you slept, drank water, and woke up fabulous.
When you stop fighting your skin and start enhancing it, makeup gets easier, and you’ll wonder why you ever avoided concealer in the first place.
Final Thoughts
You don’t need to cake it on, layer it up, or buy five different shades. You just need the right concealer, a little technique, and the confidence to know that glowing, smooth skin looks better than any “flawless” filter ever could.
So grab your mirror, tap on a little magic, and say goodbye to the creasing chaos.