How to Fix Any Fashion Emergency
Fashion emergencies are like a surprise party - they can come out of nowhere and take you by surprise. Whether it's a stuck zipper, a sudden stain on your new white shirt, or a missing button before an important meeting, these fashion disasters can truly test your patience. But don't worry, I've got you covered! This post is your ultimate guide to handling any fashion emergency with ease and grace.
I'll walk you through the most common fashion mishaps and give you practical, easy-to-follow solutions to fix them in a jiffy. To make sure you're always ready for any clothing malfunction, I'll also share a list of essential tools and items you can easily carry in your bag. These simple yet effective items will help you tackle any fashion challenge like a pro, whether it's a quick fix or a long-term solution.
So, let's get started and turn you into a fashion first-aid expert!
This post may contain affiliate links. Please see my full disclosure for more information.
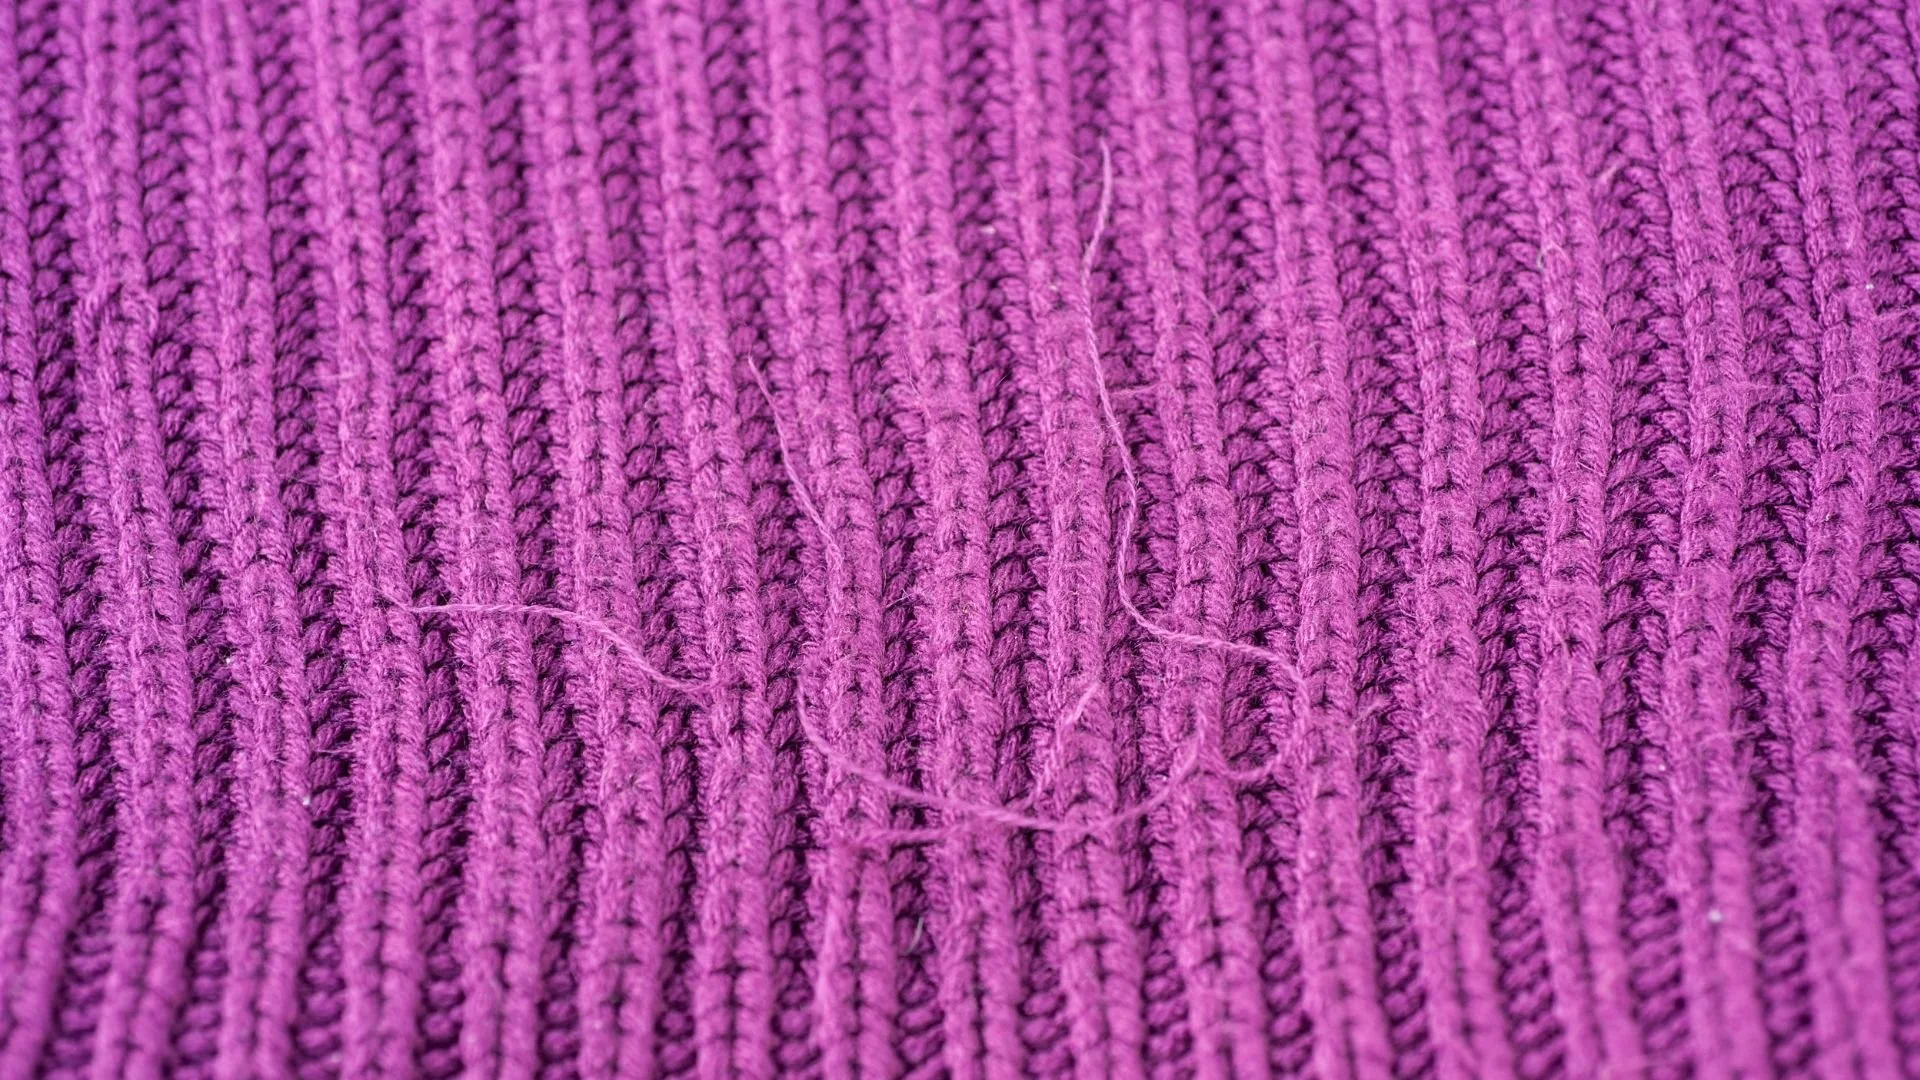
#1. Snag Or pull in a sweater
Oh no! That cozy new sweater you are wearing for the first time got caught on the edge of your desk, and now there’s a huge pull in it.
Quick Fix: Turn the sweater inside out, and using a paperclip, needle, or other thin object, slide the pull to the inside. Turn the sweater right-side out and put it back on. Now go on with your day - you look amazing!

#2. Stuck zipper
Stuck zippers can happen so easily…on jeans, jackets, backpacks, wallets, handbags, and well, anything that has a zipper. Most often, the zipper is getting stuck because there is fabric or something that is also getting caught in the zipper.
Quick fix: Don’t force the zipper. Take a look at what is causing the zipper to jam. Find whatever is caught in the zipper slowly back it up, and remove the object or fabric. Then, the zipper should glide smoothly.
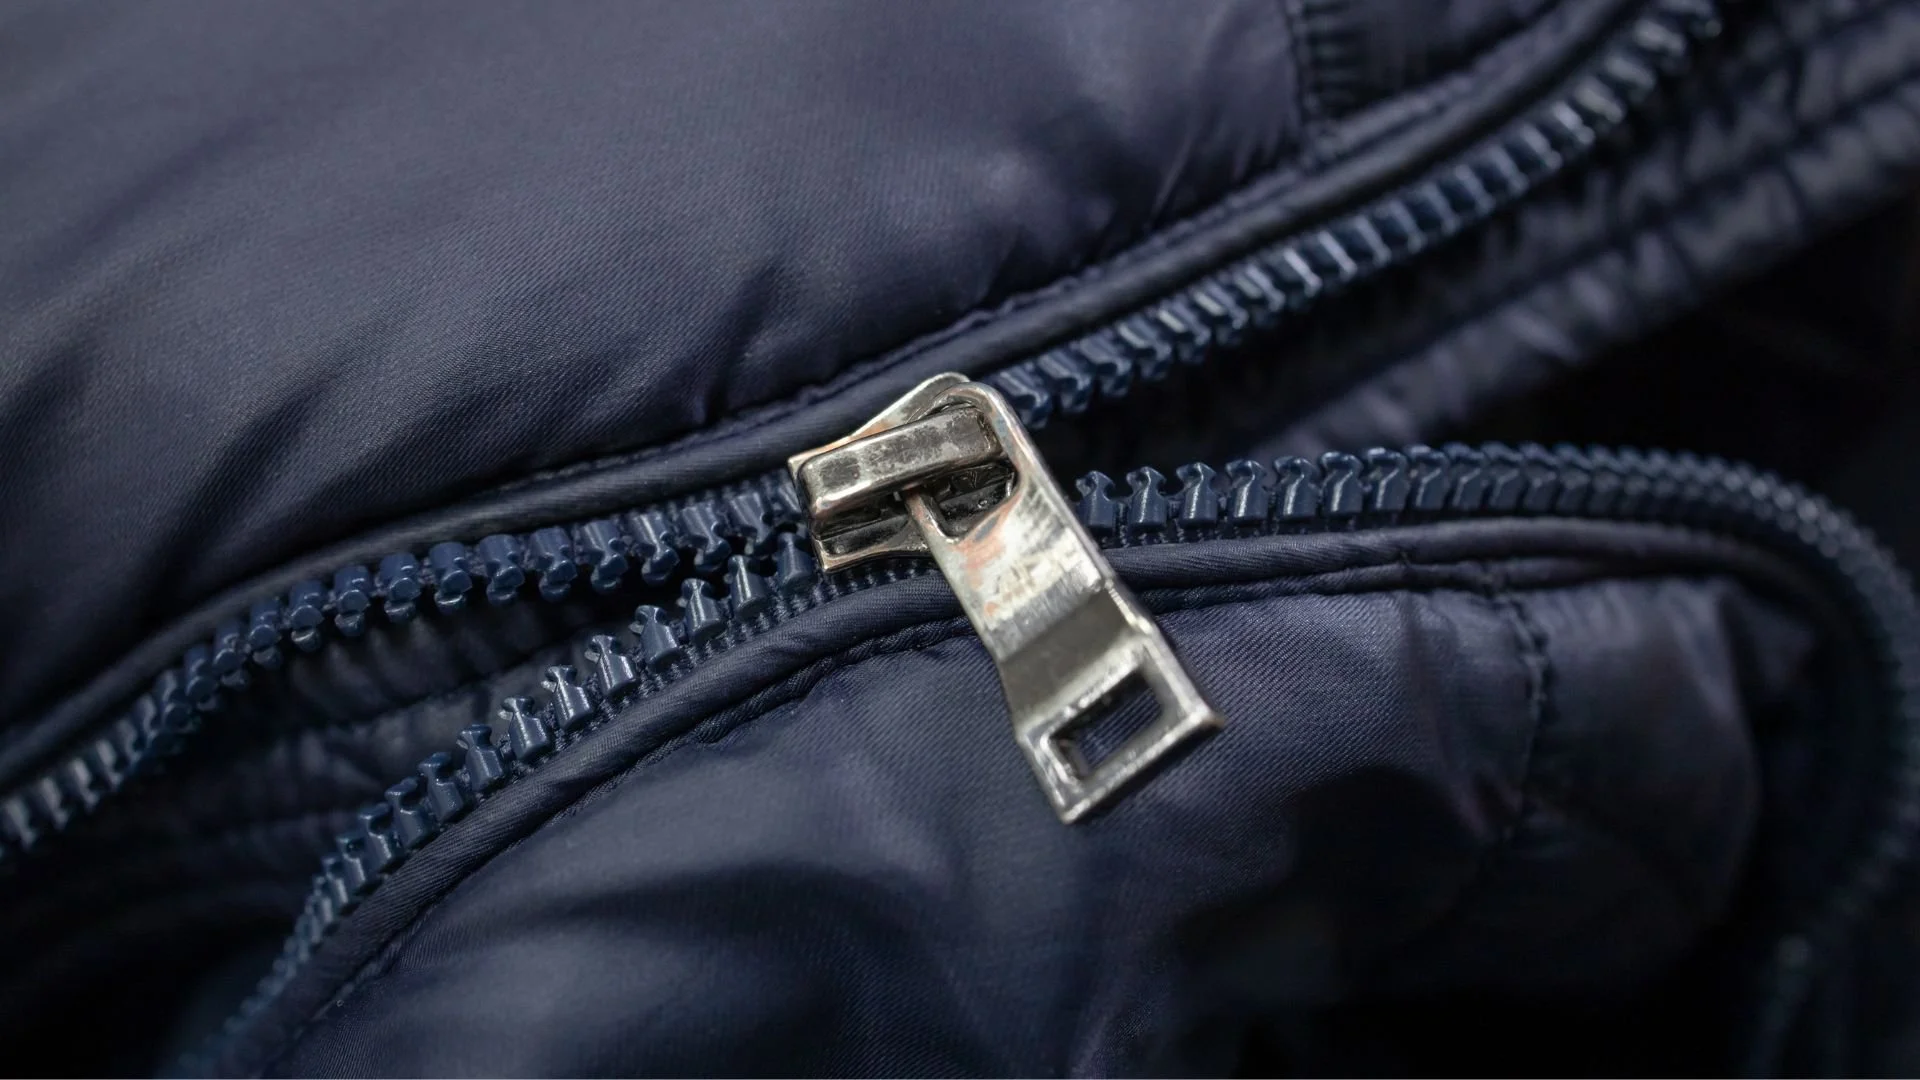
#3. Broken zipper
A broken zipper happens when the teeth don’t come together anymore, and the zipper pull glides up and down on the zipper without doing its job.
Quick fix: Use safety pins to pin the zipper shut so that you can get through the day. Use this trick if the zipper breaks on a pair of pants or skirt while you’re at work.
Better fix: A broken zipper doesn’t mean the garment needs to be thrown out. You can have it repaired or replaced by a tailor or fix it yourself. Here’s a step-by-step tutorial on how to fix a zipper without replacing it.

#4. Popped/broken button
You’re about to head into a meeting, and the button falls off your blouse or worse, breaks. Now, what do you do?
Quick fix: You have a couple of options, actually! If you have a safety pin handy, you could pin the shirt together with the pin on the inside. I’ve even seen a few people use a stapler to staple their shirts together until the button can be sewn back on.
Better fix: Use a needle and thread to sew the button back onto your shirt. If the button breaks and you don’t have a replacement, take a button off of your shirt that is below the waistline or from a less noticeable area. This way, you can replace the missing or broken one in a more visible spot. Most shirts have buttons generally the same size, so this can be an effective temporary solution. If you're at work or away from home, ask around - someone might have a mini sewing kit you can use.
Step-by-Step Guide for Sewing a Button:
Thread the Needle: Cut about 24 inches of thread and thread it through the needle, pulling it until you have two equal lengths. Tie the ends together in a knot.
Start Sewing: Start from the back of the fabric, bringing the needle up through one of the holes in the button. If it’s a four-hole button, you can either sew in an 'X' pattern or two parallel lines.
Securing the Button: After the button is secure, push the needle through the fabric but not the button, creating a small loop. Wrap the thread around the stitches under the button a few times and then pass the needle through the loop to create a knot.
Final Touch: Pull the needle to the back of the fabric and snip off the excess thread.

#5. Stain on clothes
You’re at a lunch meeting, and you accidentally spill some coffee or sauce on your clothes. Panic sets in, but don't worry, there's a way to handle this.
Quick fix: Grab a napkin or a paper towel and gently dab the stain, trying not to spread it further. If you have a stain remover pen in your bag (which is a great addition to your emergency kit), use it following the instructions.
Better fix: When you get home, treat the stain with a pre-wash stain remover before washing. If the stain is oil-based, like from salad dressing, applying a little dish soap can help break it down.

#6. hem has come undone
You're walking and suddenly feel your hem unraveling. Here’s what you can do in such a situation.
Quick fix: Use double-sided tape or a safety pin to temporarily secure the hem back in place. Be careful to place the tape or pin where it won’t be visible.
Better fix: Sew the hem back up when you can. If you’re not comfortable sewing, fabric glue is a great no-sew option, or take it to a tailor.

#7. Deodorant on clothes
You’re dressed and ready to go, but then notice white deodorant marks on your outfit.
Quick fix: Use a dry sponge or foam rubber from a hanger in your closet to gently rub off the marks.
Better fix: Prevent deodorant stains by applying deodorant and letting it dry before dressing OR apply deodorant after getting dressed carefully avoiding smudging your clothes. Switching to an invisible or clear deodorant can also help.
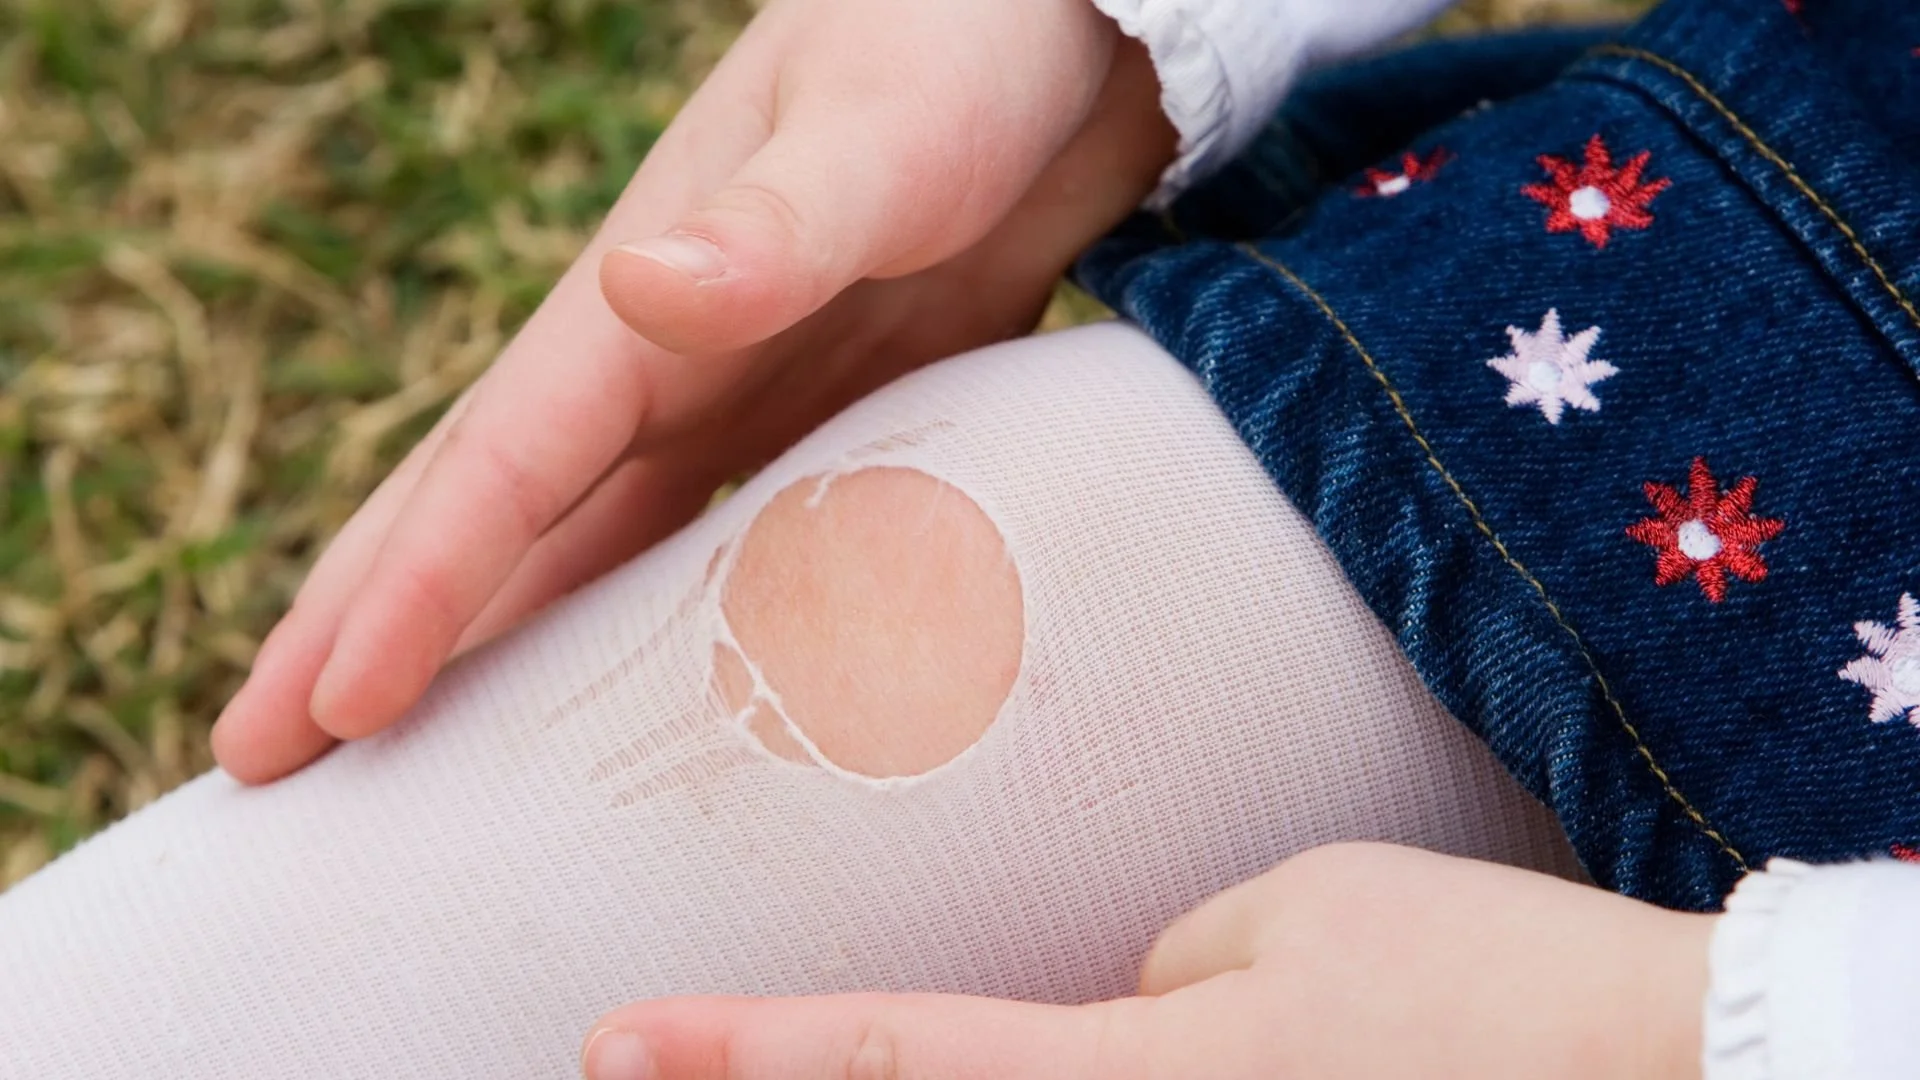
#8. Hole in stockings
You notice a small hole, snag, or run in your stockings that could turn into a run.
Quick fix: Apply clear nail polish around the edges of the hole to stop it from running further.
Better fix: Keep a spare pair of stockings in your bag or at your office for a quick change.

#9. Period stain on pants/skirt
I think this fashion emergency has happened to almost every girl I know.
Your monthly bill arrives a few days before it’s expected, you misjudge how much bleeding you’ll do over a few hours, or you just forgot to put a tampon in, and…hello, bloody crime scene.
Quick fix: Tie a sweater, shirt, sweatshirt, or jacket around your waist to cover the stain.
Better fix: Run the stained portion of the pants/skirt under cold water. The blood will come right out. If possible, dry it with a towel or paper towels. Then, if there is a dryer nearby, dry it off, and you’re good to go.
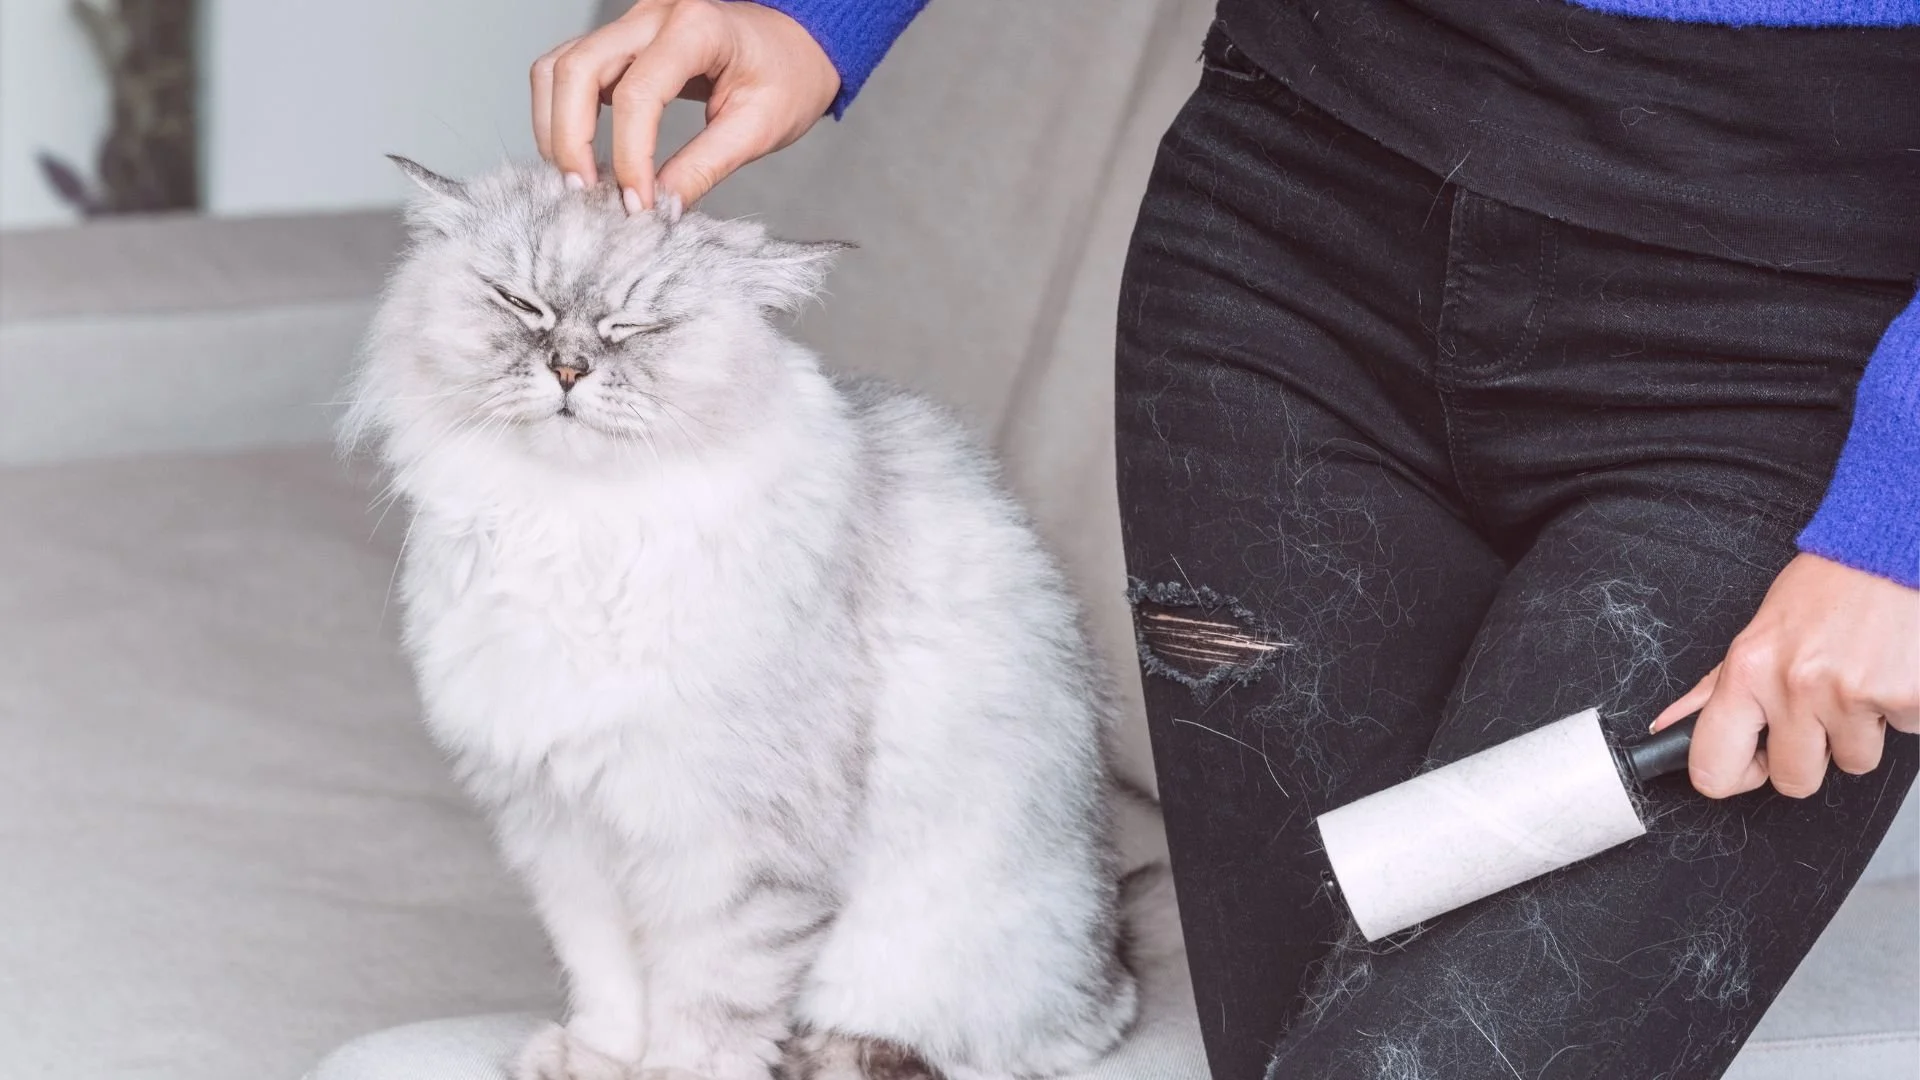
#10. Pet hair/lint on clothes
You love your pets but hate that you take them (their fur) with you wherever you go!
Quick fix: Grab a piece of tape and wrap it around your fingers with the sticky side facing out. Attach the ends to form a loop, then run it over the lint/pet hair to pick up unwanted hair and particles.
Better fix: Use a lint remover or roller to take pet hair and lint off your clothes.

#11. Broken necklace
The clasp on your favorite necklace breaks, leaving you without your key accessory.
Quick fix: If the break is at the clasp, temporarily fix it by tying the ends together if the length allows.
Better fix: A jewelry repair kit can be handy for these situations, allowing you to replace a broken clasp or jump ring.

#12. Ink marks on clothes
My first job out of college was working at a small bridal salon. Well, pens and wedding gowns don’t mix very well, and we had more ink on gowns than you can imagine. Here’s how we got ink off the gowns.
Quick fix: Hairspray! Cheap hairspray works the best because it has a higher alcohol content. Hold the can only a few inches from the ink stain and spray. You should start to see the stain breaking down. Wait a few minutes and spray it again. Do not rub; just blot lightly with a paper towel.
Better fix: Apply rubbing alcohol directly to the stain. Wait a few minutes and blot lightly with a towel. Repeat, then launder as usual.

#13. Static cling
Your skirt or dress is clinging in all the wrong places due to static.
Quick fix: Run a metal hanger over the fabric to dissipate the static. Alternatively, a small amount of lotion on your hands can be gently applied to the area. You can also use a dry sheet and rub it over the clothes to remove the static.
Better fix: Keep a small bottle of anti-static spray in your bag. Spraying it on your clothes can help prevent static cling.

#14. Broken EYEglasses
A screw falls out, or your eyeglasses become misaligned.
Quick fix: Use a tiny drop of clear nail polish to hold the screw in place temporarily.
Better fix: Carry a glasses repair kit with small screws and a screwdriver.

#15. Wrinkles in clothes
You pull out a shirt, and it's full of wrinkles.
Quick fix: Hang it in the bathroom while you take a hot shower. The steam can help remove light wrinkles. You can also use a wrinkle remover spray.
Better fix: Portable hand-held steamers are a great investment and work wonders for quick touch-ups.

#16. Makeup stains
Foundation or lipstick finds its way onto your collar or sleeve.
Quick fix: Use a baby wipe to gently dab at the stain. These are gentle and often effective at lifting makeup. You can also use a bit of soap and water or a stain remover such as a Tide-togo-Stick or Tide Wipes.
Better fix: Pre-treat the stain with a stain remover before washing. For persistent stains, a mixture of baking soda and water can be applied before laundering.
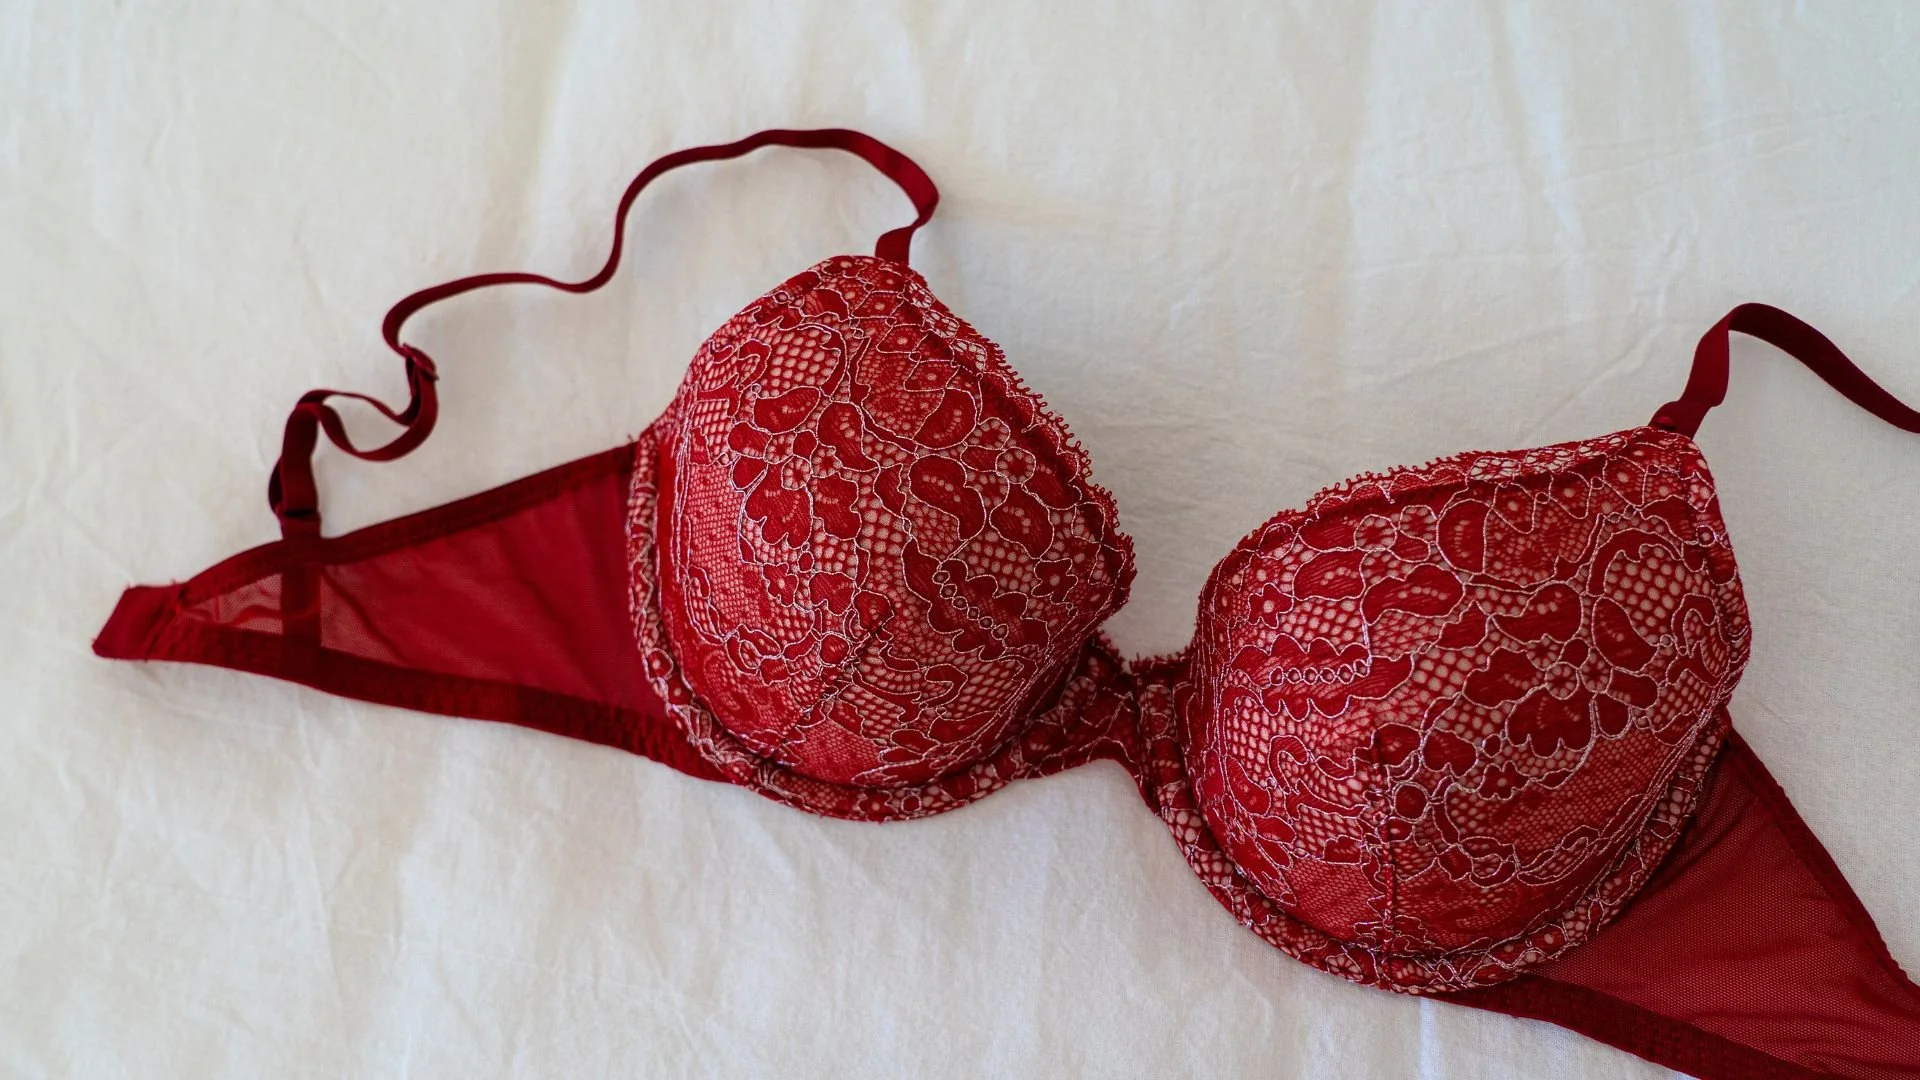
#17. Protruding underwire on bra
How many times have you been wearing an underwire bra, and next thing you know, the underwire has popped through the fabric and is now stabbing you in the side? At that point, my solution was to take off the bra and throw it in the trash.
You don’t have to do that! You can save your bra and get a lot longer life out if it with this quick and easy fix.
Quick fix: Using a little moleskin and a pair of scissors, cut a small piece of moleskin that is large enough to cover the hole. Push the underwire back into the bra and cover with the moleskin. Here’s a step-by-step tutorial as well.

#18. Hoodie drawstring
The drawstring on your hoodie comes out in the wash or gets uneven. This has happened on my husband’s hoodies many times, so here’s how I fix it.
Quick fix: Attach a safety pin to the end of the drawstring and thread it back through the hood or waistband.
Better fix: Tie knots at the ends of your drawstrings to prevent them from slipping out during washes.

#19. Missing earring back
You feel your earring starting to slip out because the back is gone.
Quick fix: If you have a pencil with an eraser, you can snip a small piece off and use it as a temporary earring back.
Better fix: Keep a couple of spare earring backs in your purse, wallet, or jewelry box for such emergencies.

How to Make Your Own Fashion Emergency Kit
A fashion emergency kit is a small collection of items that can save the day when you encounter unexpected wardrobe malfunctions. Here’s a more detailed breakdown of the essential items you listed and a few additional suggestions:
Essential for Your Fashion Emergency Kit:
Safety Pins: These are lifesavers for quick fixes like a broken zipper, a fallen hem, or keeping a wrap dress in place. Assorted sizes are useful – small ones for delicate fabrics and larger ones for heavier materials.
Sewing Kit: A basic kit should include needles, thread (in neutral colors like black, white, and beige), small scissors, and a few buttons. This is essential for reattaching buttons, fixing small tears, or even a quick hem repair.
Double-Sided Tape: This versatile tape can temporarily hem a skirt, pants, or even secure a plunging neckline. It's also great for keeping bra straps from slipping and fixing gaping blouses.
Stain Remover Pen: An instant solution for unexpected spills or stains. These pens can be used on most fabrics and are particularly handy for food and drink stains.
Additional Items to Consider:
Lint Roller or Tape: Perfect for removing lint, hair, and fuzz from clothing, keeping you looking neat and professional.
Clear Nail Polish: Not just for nails, it stops runs in stockings and can also be used to temporarily secure loose screws in eyeglasses.
Small Scissors: These foldable scissors are handy for cutting loose threads or tags and even for crafting a quick fix in a pinch.
Mini Deodorant Wipes: Great for removing deodorant marks and freshening up when you’re on the go.
Hair Ties and Bobby Pins: For those days when you need to quickly put your hair up or secure loose strands.
Blister Band-Aids: Essential if you’re breaking in new shoes or walking a lot.
Earring Backs: Keep spare ones for those times when you lose one.
Fabric Glue: A no-sew solution for fixing hems or other fabric issues in a jiffy.
Anti-Static Spray or Wipes: To tackle static cling-on clothing.
Breathable Fabric Patches: For underarm sweat protection, especially useful during long events or warm days.
Packaging Your Kit:
Compact Case: Choose a small, lightweight bag or case that can easily fit in your purse or office drawer. A cosmetic bag or a pencil case works well.
Organized and Accessible: Use small zip bags or compartments to keep things organized.
Regular Checks and Replenishment: Periodically check your kit to replenish used items and update it according to your current needs or the season.
A well-prepared fashion emergency kit is like a secret weapon for maintaining poise and confidence, no matter what the day throws at you!
Did I leave anything out? Let me know in the comments below.